
To perform penetration testing requires collections of penetration tools to help get the job done. In this section, we will discuss the basic tools required for penetration testing.
One of the most important tools in penetration testing is the environment to perform the penetration testing and also to bring up all the tools together.
An operating system is an example of a tool as an environment and I will be using Kali Linux OS. “Kali Linux is a Linux distribution that is specialized for cyber-security. It is an open-source product that involves a lot of customization for penetration testing, which helps companies to understand their vulnerabilities”, is a great tool with collections of various penetration and security testing tools to start with.
Kali Linux OS can be installed on a physical computer or a virtualization environment like VirtualBox which is available for both macos, linux and windows operating systems. “VirtualBox is a general-purpose full virtualizer for x86 hardware. Targeted at server, desktop and embedded use, it is now the only professional-quality virtualization solution that is also Open Source Software”.
Recommendation
Since most of the penetration tools use system files, I am recommending installing Kali Linux on a VirtualBox to avoid damaging your system if something goes wrong.
VirtualBox Installation & Configurations.
- Download VirtualBox installation file and the VirtualBox Extension Pack from Oracle’s website.
- Download Kali Linux iso from the official website.
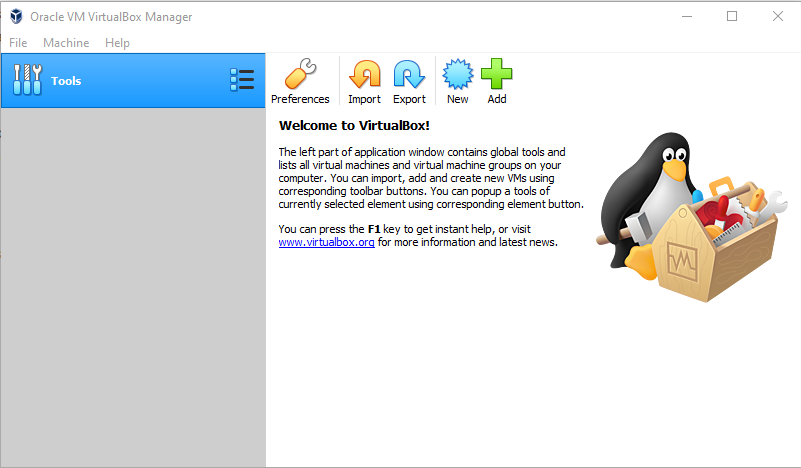
- Click on new to create new virtual machine.
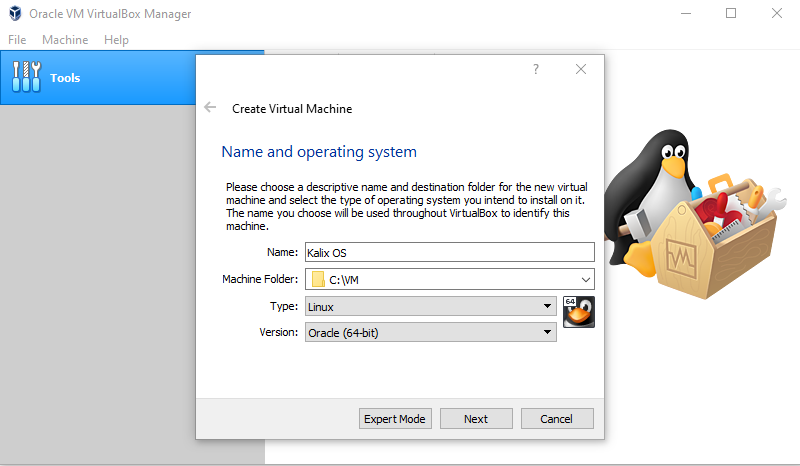
- Give the virtual machine a name eg. Kali OS, location default is ok, Type is Linux, Operation System Version Oracle (64bit) if you are using 32bit os then choose 32bit.
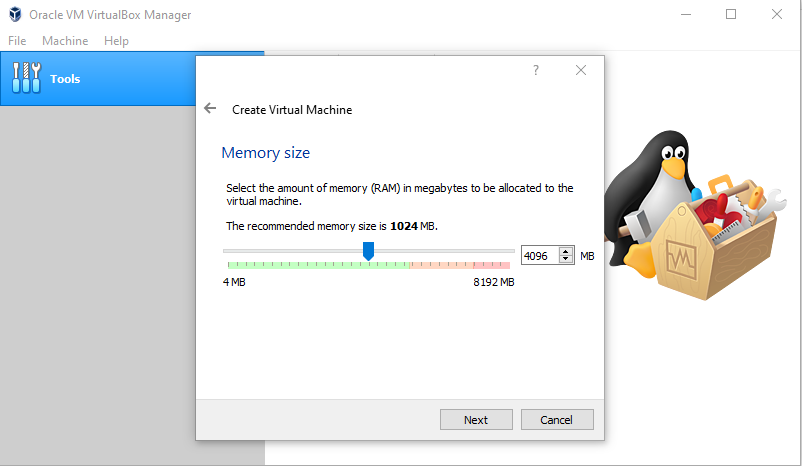
- Allocate a memory to the virtual machine. 4GB ram capacity will give you a good performance.
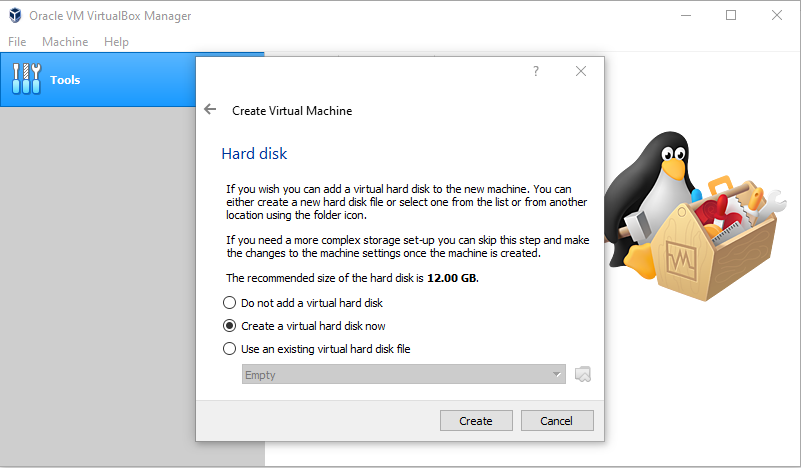
- Select Create a virtual disk now or use an existing disk if you have one.
- Select your disk image type. In our case, VDI is ok.

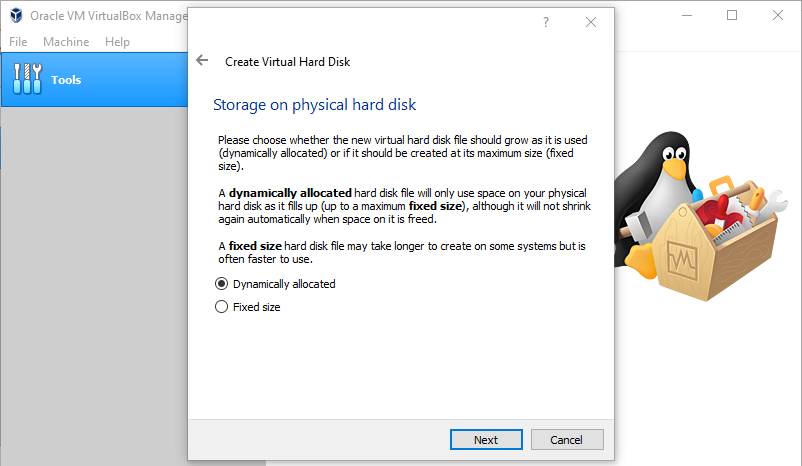
- Use either dynamic allocation or a fixed sized disk. Also in our case, dynamic allocated is ok.
- Give your virtual machine a disk size and click on Create. 20GB is ok unless you are planning to perform or download more tools.

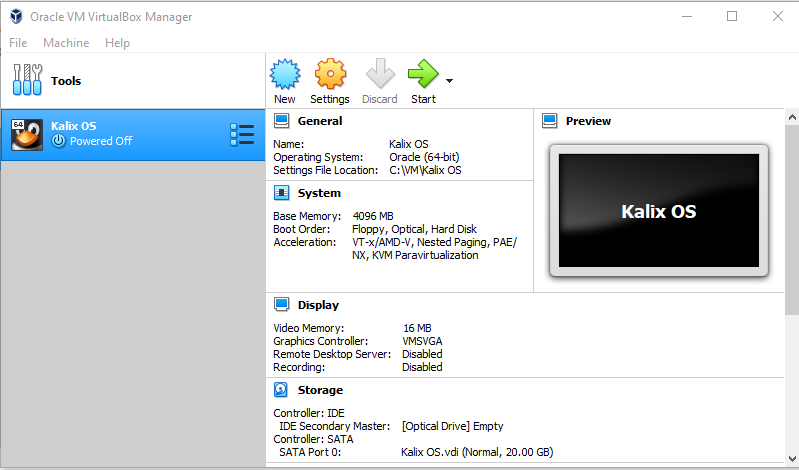
- Our virtual machine basic setup is done.
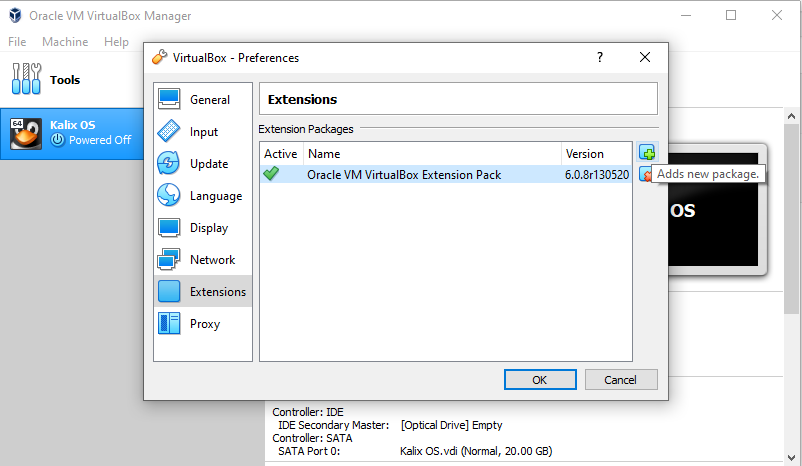
- Install the additional virtualbox extenstion by going to File>Preferences>Extensions. Click on the Adds new packege and locate to the downloaded extension. Now we can process to installing the Kali Linux Operating System.
Kali Linux Installation & Configurations.
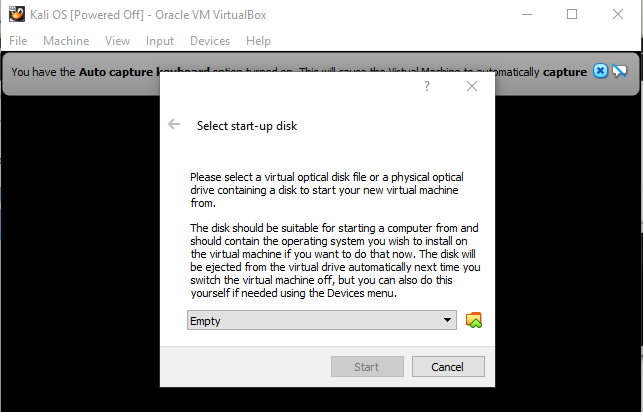
- Start the virtual machine.
- Locate to the Kali Linux OS you have downloaded.
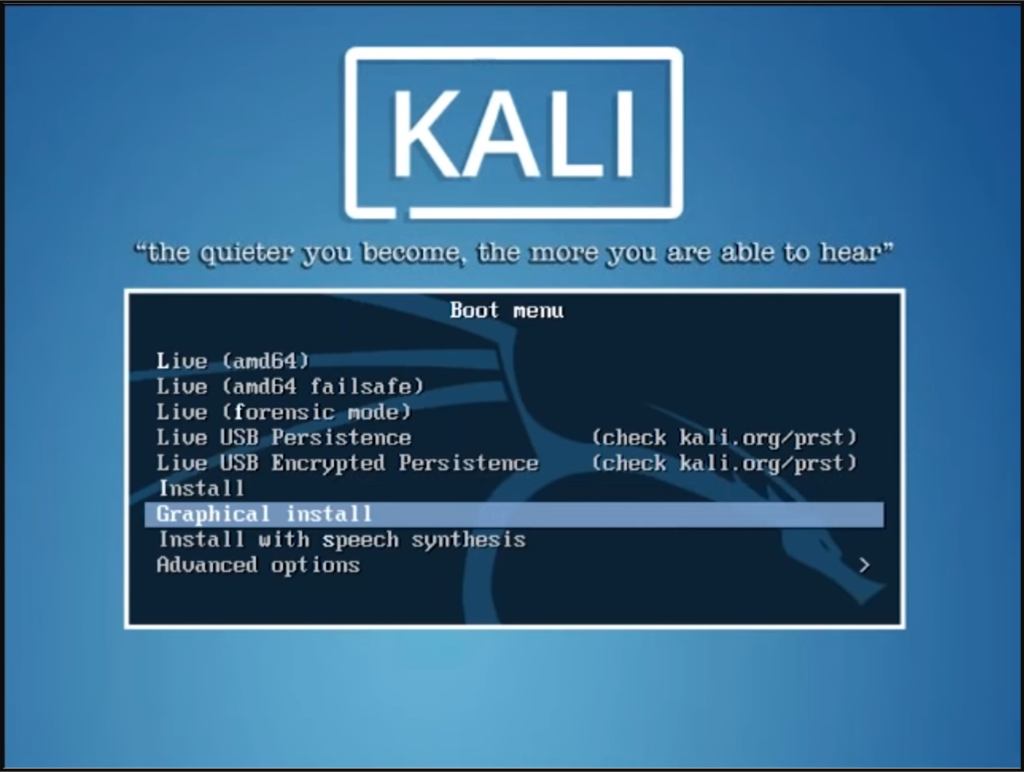
- Select Graphic Install mode for easy installation.
 Select your region.
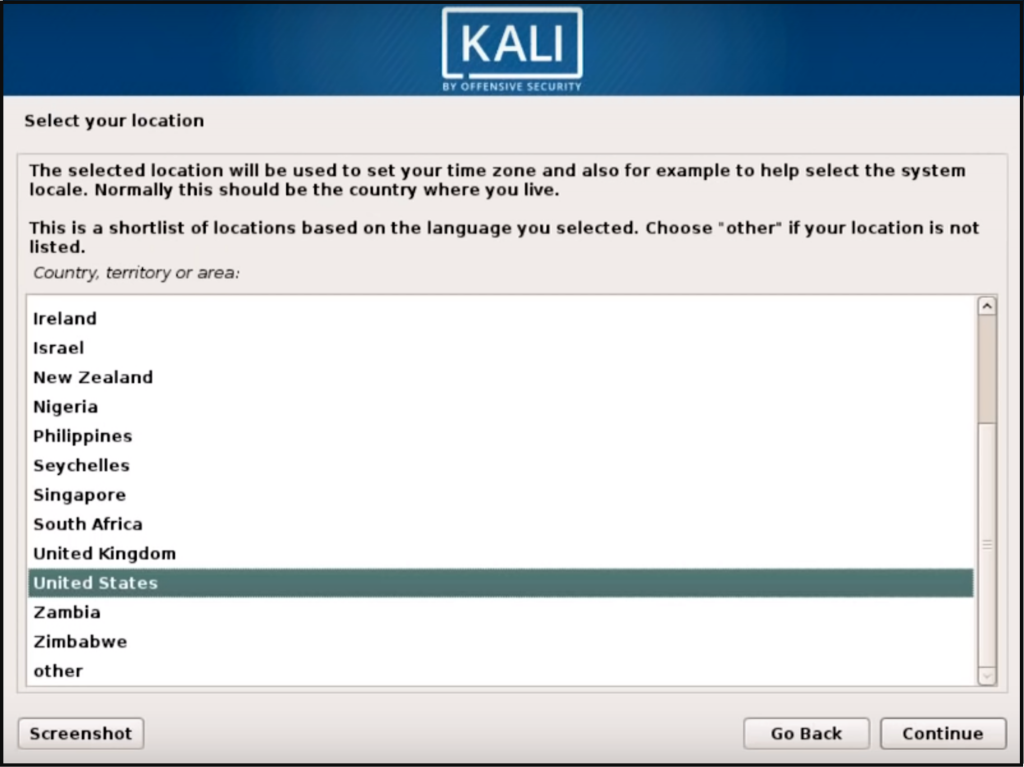
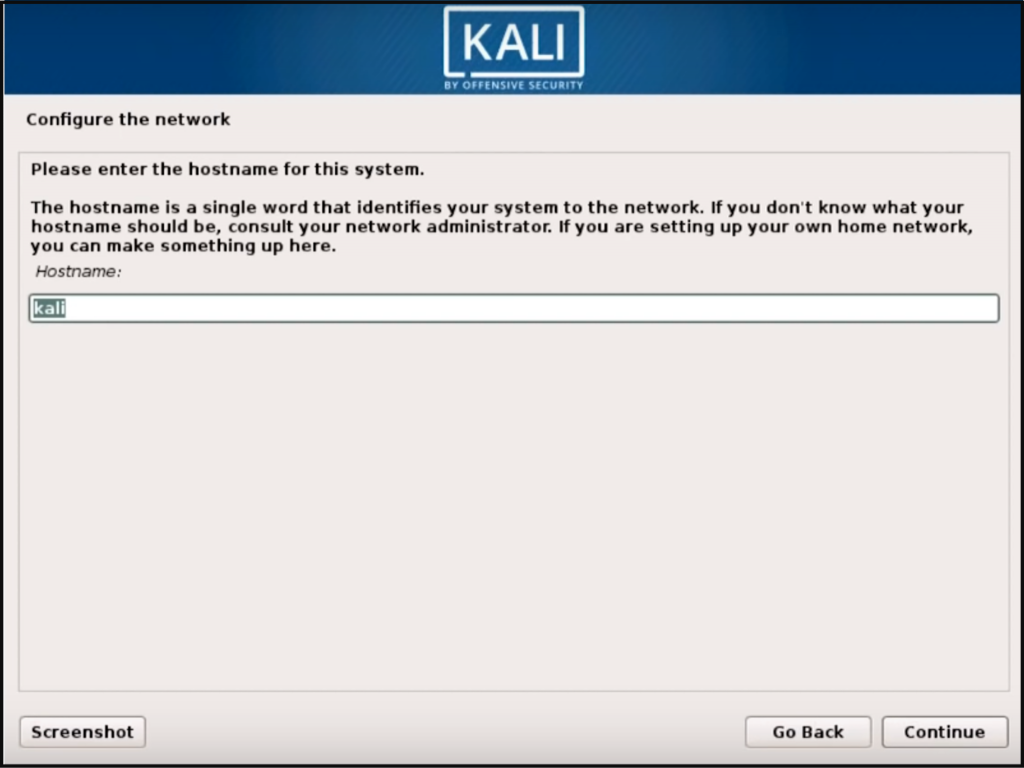
- Give your account a name. By fault you should get “kali”
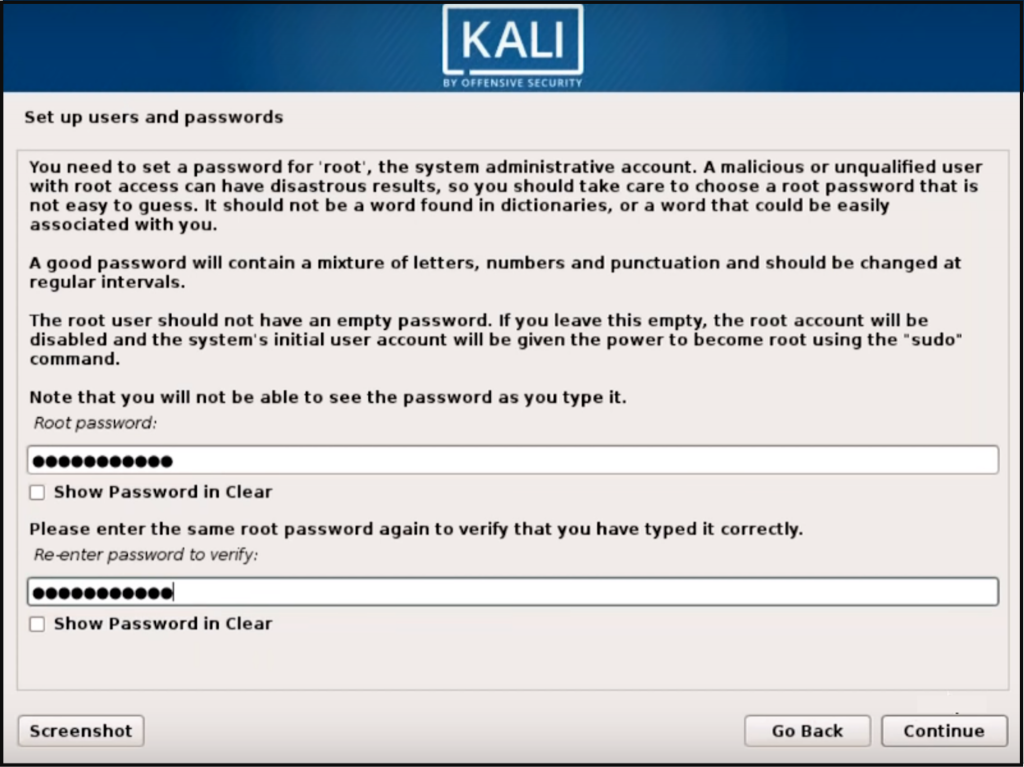
- Give the account a strong password. This can be mixed characters
- You can encrypt the virtual machine disk by selecting the LVM option or just the basic security settings.
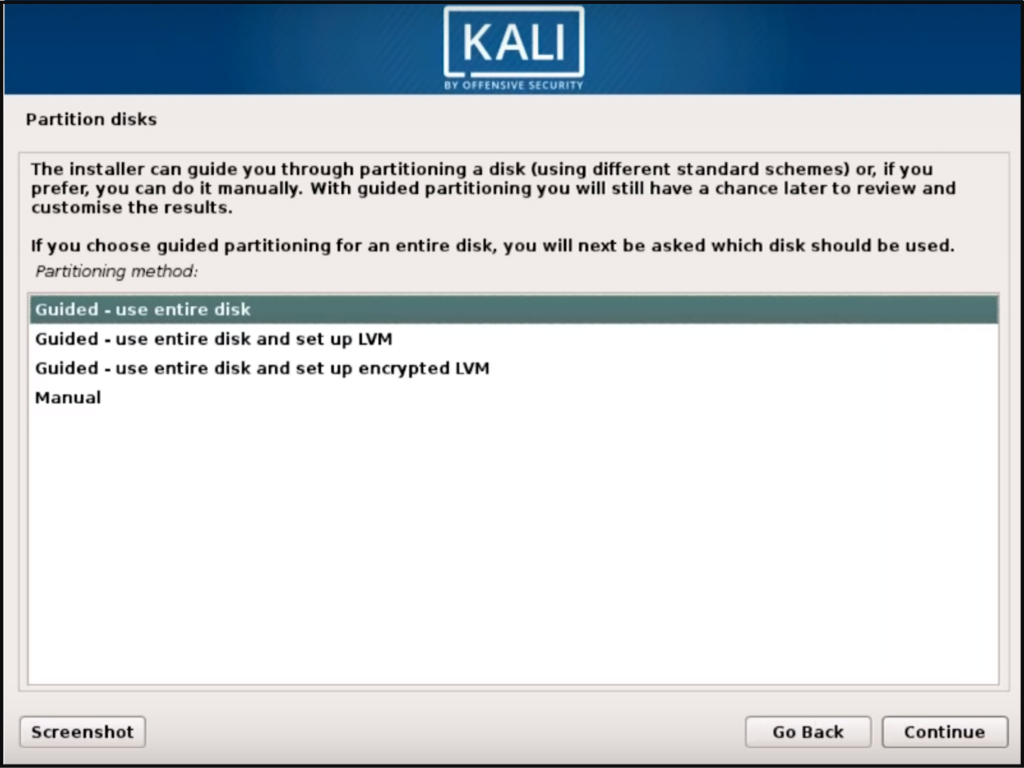
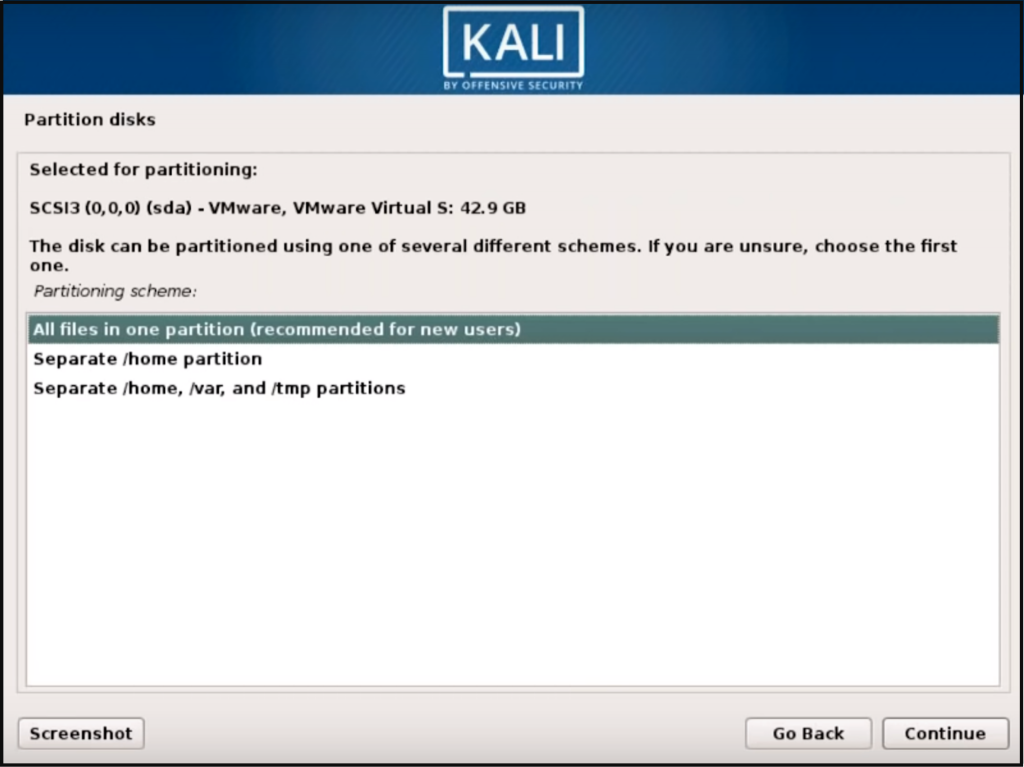
- Select the partition to apply settings to.
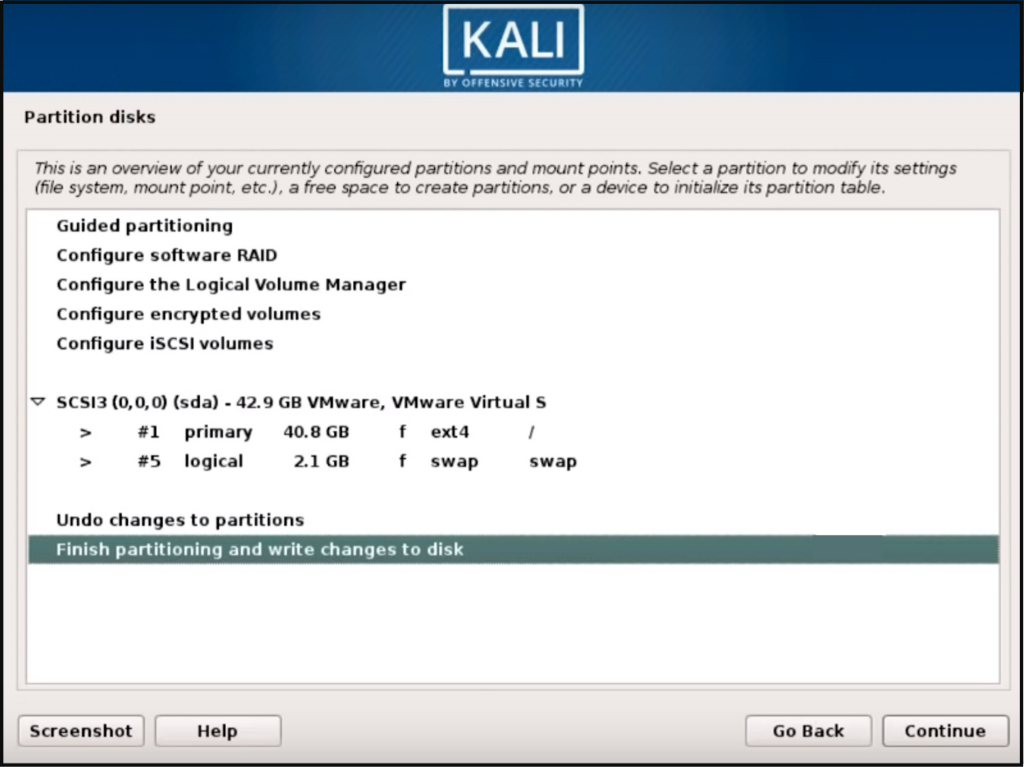
- Write the setting to the disk.
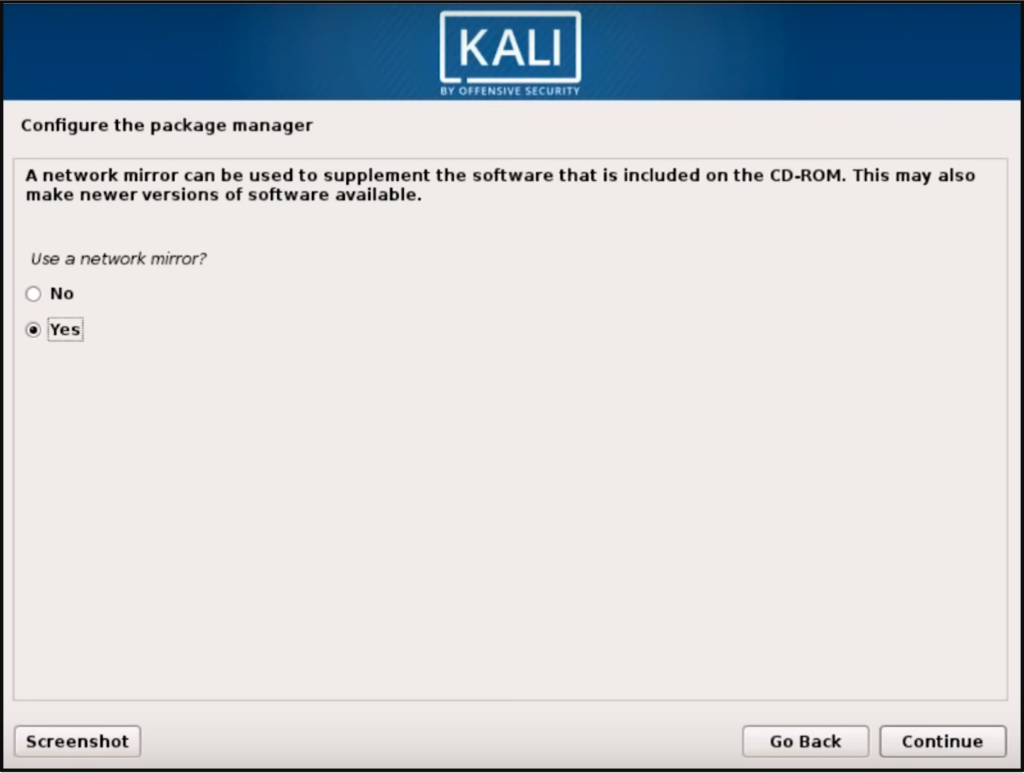
- Select the Yes option to use network mirror.
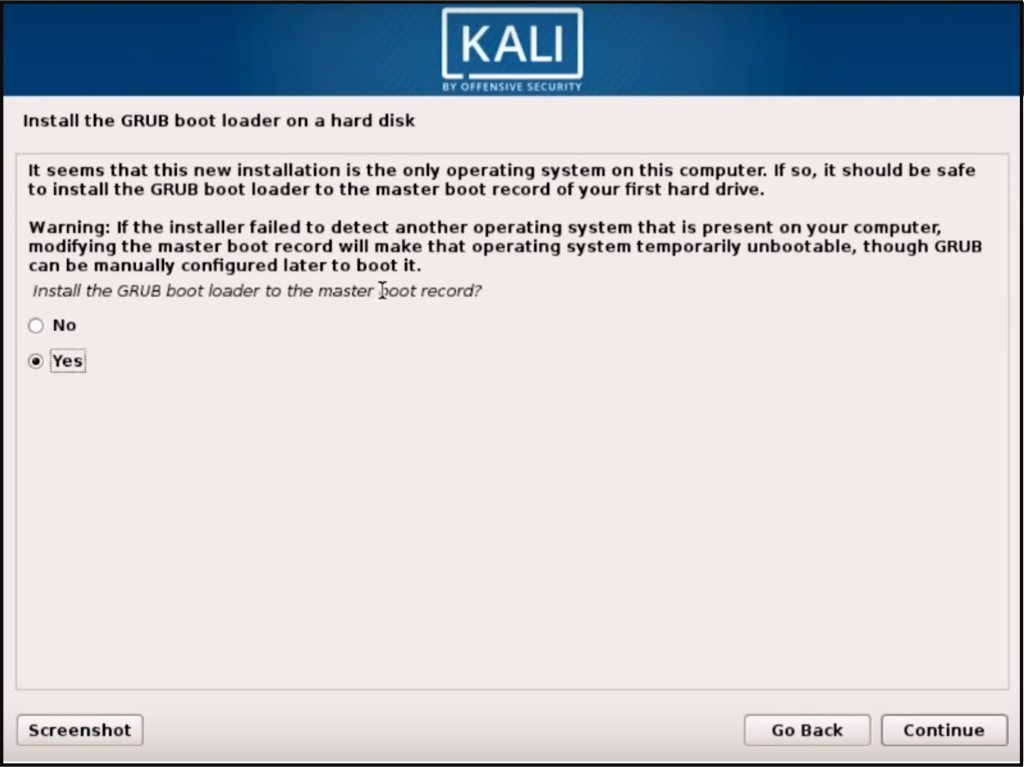
- Select Yes to install GRUB Boot Loader to the disk.
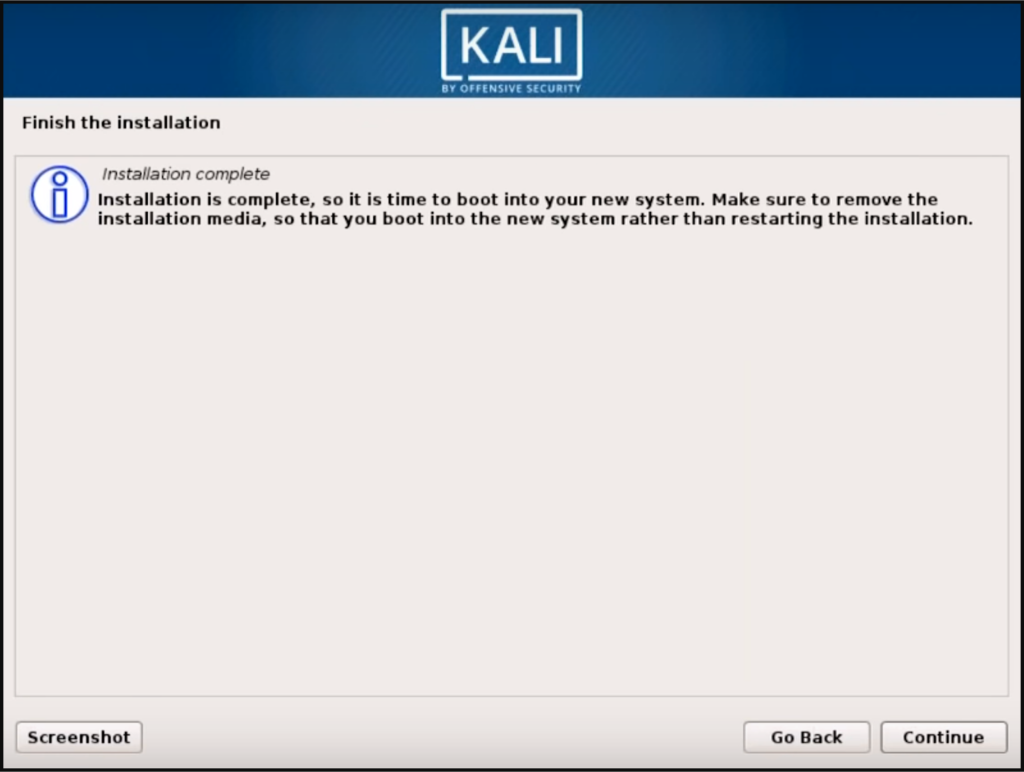
- Continue to finish the installation.
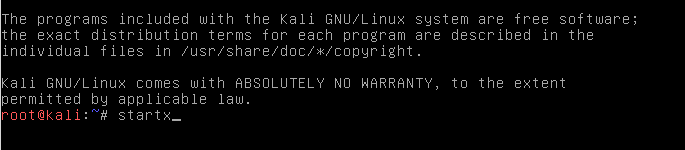
- If you are stuck in shell mode, just log in with your user name and password provided in step 3 and run startx to switch to GUI mode.
References
- Kali Linux – defination
- Kali Linux – download link
- VirtualBox – defination
- VirtualBox – download link